1. Work backwards - talk to your printer!
"Working backwards" means considering the final printing process while you are designing in Figma. Even if you'll just be handing off files to a client, it's important to ask the print service provider about their requirments.
Here's some questions you can copy and paste directly into an email:
- Should bleed be included in the design? If so, how much?
- Should crop marks be included in the design when using bleed?
- Do you reccomend a minimum PPI/DPI for raster objects/images?
- Should the RGB or CMYK color space be used?
- Is there a specific ICC color profile you reccomend using? (this will depend on the press and the substrate)
- Do you have the ability to match specific spot or Pantone colors?
Your printer should know what these questions mean, and should be able to tell you more about their requirements.
The answers to the these questions inform how you should set up your Figma file.
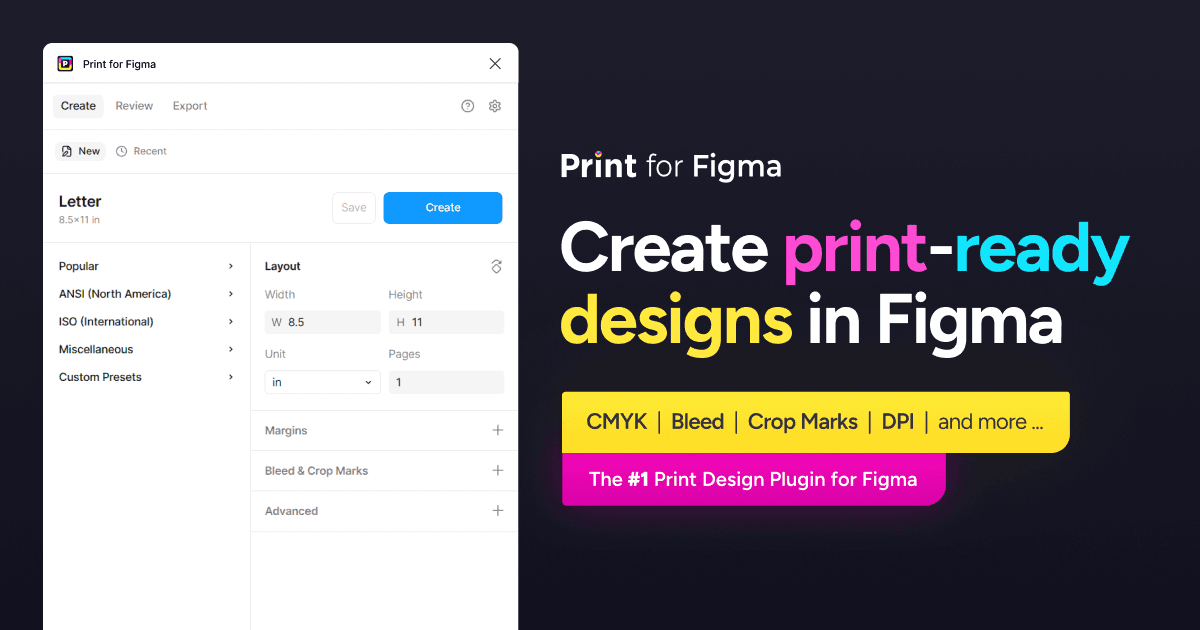
If the printer has specific requirements regarding color, bleed, or trim/crop marks, then using a Figma plugin like Print for Figma may be neccesary. Figma is a great choice for most print design projects, but always confirm your requirements first.
If you work backwards and talk to your printer before starting the design process, I guarantee you'll be happy with the final product.
2. Create a proper layout (inches / millimeters)
Figma uses a canvas PPI of 72 pixels per inch, so to calculate the size our Figma frame should be, we simply multiply our dimensions by 72. You can do this yourself, or use this calculator:
For example, if we want our final PDF to be exactly 8.5x11 inches, we make our Figma frame:
- (8.5 * 72) = 612px
- (11 * 72) = 792px
If you need to use millimeters, note that 1 inch = 25.4 mm. So anywhere you use 72 in these formulas, you can instead use (72/25.4). For example, A4 is 210x297mm, so to convert that to pixels:
- 210 * (72/25.4) = 595.28px
- 297 * (72/25.4) = 841.89px
Often when using millimeters, you'll end up with pixel values that have multiple decimals. If you're not careful when doing your calculations, your final PDF export could be the wrong size. To prevent any rounding errors, you can use a plugin like Print for Figma instead of doing the math yourself.
3. Add bleed the right way
Depending on your project and your printer, you may need to add bleed to your design.
If you don't know what bleed is, here's the rapid fire explanation:
- printers can't consistently print on the edges of paper
- to compensate, we print our designs on paper that is larger than we actually need
- once printed, we trim off (crop) the excess paper, resulting in a perfect edge-to-edge print
Add bleed with Print for Figma (easiest)
The easiest way to add bleed to your Figma designs is to use a plugin like Print for Figma, which automatically adds the proper amount of space to your frame and sets up proper guides, all in one click. However, if you'd prefer not to use a plugin, you can also add bleed manually.
Add bleed manually
To add bleed in Figma, you need to increase the dimensions of your Figma frame. A common bleed amount requested by printers is 0.125 inches (1/8 of an inch). First, to convert that to pixels we simply multiply by 72, just like in Tip #2:
- (0.125 * 72) = 9px of bleed
Then, we add all four sides worth of bleed to our frame size (e.g. our 8.5x11 frame from the last tip):
- 612px + 9px left + 9px right = 630px
- 792px + 9px top + 9px bottom = 810px
You can stop there if you'd like. For most printers, all that's need to satisfy the "bleed" requrement is the addition of the extra space.
Extend your background into the bleed area
The important thing that so many designers forget, is that you need to make the background of your design extend into the bleed area. This is because the trimming process is not always exact. You can consider it a "sacrifical" part of your design. We want to ensure regardless of where the cutting blade lands, the print won't have any blank paper around the edges.
Add guides to visualize the bleed space
Without any visual guides, it's hard to tell where the bleed area ends and begins. You might think to add a rectangle with a stroke border to the Figma frame, in a bright color like pink, but that won't work because the pink stroke might actually show up on the print! So in other words, we need a way to visualize where our bleed area is, without it showing up in our actual PDF export.
Visualize Bleed with Rulers
Enable rulers by pressing Shift-R in Figma. You can then click and drag your mouse from the rulers that appear on the top and left side of your Figma file. Doing this will let you create vertical or horizontal guides. Position the ruler guides according to your bleed space in pixels, e.g. 9px from each edge of the frame (top, bottom, left, and right).
Rulers are great because you show or hide them independently of other Figma features, like layout guides, meaning you can hide/show your bleed area while keeping your layout guides visible.
Visualize Bleed with Layout Guides
Another way to visualized bleed in Figma is to use layout guides. Here's what my guides look like for 0.125in (9px) of bleed:
| Guide | Count | Color | Type | Width/Height | Offset | Gutter |
|---|---|---|---|---|---|---|
| Row | 1 | #FF0000 10% | Top | 9px | 0 | 1 |
| Row | 1 | #FF0000 10% | Bottom | 9px | 0 | 1 |
| Column | 1 | #FF0000 10% | Left | 9px | 0 | 1 |
| Column | 1 | #FF0000 10% | Right | 9px | 0 | 1 |
Layout guides are great because you can set them up once and they will stay attached to your frame. You can also save guides you use frequently into a "style" that you can reuse. Layout guides also let you change the color, unlike rulers which can only be red. They're my personal reccomendation for visualizing bleed in Figma. If you want an easy way to set these guides up automatically, check out Print for Figma.
Visualize Bleed with Slices
Another way to visualize bleed in Figma is to use slices. Slices are bascially "boxes" you can draw in Figma that won't be visible in exports. Because of this behaviour, they're perfect for visualizing the final size of our design. Adding a slice to your frame that extends to all 4 sides of the bleed area will give you an easy-to-see dotted line around the part of the frame that will actually be visible one the bleed is trimmed off.
4. Keep an eye on DPI

There is a common misconception that a file has one single "DPI" value. This is not how DPI actually works. In reality, when you export a PDF file from Figma it contains multiple objects like text, shapes, and images. Each of these objects are very different, and only images have a real DPI that we are concerned about.
Therefore, when someone asks you to "design at 300 DPI", what they really mean is that each image in your final PDF should be 300 DPI (or more). There isn't one "DPI" for the whole PDF - DPI is per-image.
Check the DPI of your images in Figma
The easiest way to check the DPI of your images in Figma is to use Print for Figma's 'DPI Checking' feature, but you can also get a rough idea of an image's DPI by doing some math. Here's an example:
- Load a 600x400 pixel image into Figma.
- Scale the image down by half (1/2) so that it is now 300x200 pixels.
- Under the hood, Figma still has the original 600x400 pixels, but now those pixels only have to cover a 300x200 area.
- Because we shrunk the image down by (1/2), we increased the DPI of the image by the inverse of that: (2/1)
- So, we've doubled the image's base resolution (2/1 * 72), to achieve a final DPI of 144.
So in general, to calculate the DPI of an image in Figma, use this formula:
- DPI = (1 / (Current Image Size / Original Image Size)) * 72
Aim for 300 DPI if quality is important
Let's say you wanted to design a 5x7 inch postcard, and you want an image to cover the entirety of the postcard. Then the minimum size of the image you import should be:
- (5 inches * 300 dpi) = 1500 pixels
- (7 inches * 300 dpi) = 2100 pixels
More generally, to maintain 300 DPI:
- minimum image width in pixels = (Display Width in Inches * 300 DPI)
- minimum image height in pixels = (Display Height in Inches * 300 DPI)
Watch out for auto-scaling
If you import an image that is more than 4000 pixels in width or height, Figma will automatically downscale it. This is a problem for large-format design, where you need images displayed at really large sizes (e.g. tradeshow banners).
In these cases, you can split the image into multiple parts with a plugin like 'Insert Big Image'.
5. Export in CMYK (almost always)
Almost all printers will ask you - or require you - to submit designs that are in the CMYK color space. If this is true in your case, then you will need to use a Figma plugin when exporting. This is because natively, Figma does not support CMYK.
There are several ways to convert a PDF to CMYK outside of Figma (e.g. using Adobe Acrobat), but using a plugin like Print for Figma lets you handle the conversion entirely within your Figma file - no extra steps needed. If you use Print for Figma, you can even define custom RGB -> CMYK color mappings and use proper ICC color profiles. Print for Figma is carefully designed so that all your design elements are converted properly, such as images, gradients, text, and shapes.
The only time you should export in RGB is if you're submitting your design as an image, not a PDF (or, if your printer specifically asks for RGB). This may be the case for many print-on-demand services. This is because PNG doesn't even support CMYK, and while JPG sort of supports CMYK, it's not commonly used. Why? Well, when a printer requests image files, it's very likely that they will be using digital inkjet technology to print your design. Some digital inkjet printers use RGB instead of CMYK, because they actually have more than four inks. If you send a CMYK image to an inkjet printer that uses additional inks like Orange, Violet, Light Red, etc, the printer won't be able to take full advantage of all those inks because your design is restricted to CMYK!
6. Keep your files and layers clean!
When exporting Figma designs to PDF, every layer within your frame will be included in the PDF. If your layers are a mess, this will result in a much larger file size than neccesary, and it could even cause other problems with your PDF export.
So, make sure that you delete any hidden or unused layers from your designs before exporting to PDF. The cleaner your layers, the easier it will be to figure out what's causing any problems you might experience when exporting.
Also keep an eye on how many 'fills' you have on your image layers. Often times you can end up with images that have multiple fill layers of different images, but only the top fill is actually visible. When exporting to PDF, Figma includes ALL fills in the PDF, unless they are explicitly hidden. So make sure to check your images and hide or delete any unneccesary fills.
7. Take advantage of everything Figma has to offer
If you're wanting to use Figma for your next print project, there's most likely already a Figma feature that you're excited about using. For many, the real-time collaboration alone is enough to make Figma a better option than something like InDesign. Here's some other Figma features that can supercharge your next print project:
Use Figma plugins
I've talked a lot about Print for Figma, as it does most of the heavy lifting when it comes to print design in Figma, but there's thousands of other resources and plugins available on the Figma community that can save you hours of work.
- Get thousands of free stock photos in one click with Unsplash
- Generate placeholder content with Lorem Ipsum
- Add texture and depth to your designs with Noise or Noisy Gradients
- Create beautiful reports and visualizations with Chart
Use components to create reusable design elements
One of the most powerful Figma features is the component. A component is essentially a reusable 'block' that you can use across multiple different designs. At any point, if you edit the 'main' component/block, everywhere you used that block will automatically update to match your changes.
There's so much you can do with components that it deserves it's own entire article, but here's some ideas to get you started:
Create reusable graphics (e.g. brand logos)
Before you start manually inserting your logo into all of your designs, turn it into a reusable component first. That way in the future, if your logo ever changes, you can replace it everywhere, all with a one swap. You can also apply this to other graphics that you use frequently, not just logos!
Create reusable layouts (e.g. letterhead, business cards)
You can turn entire Figma frames / layouts into reusable components as well. For example, you can design a business card once, as a component, then make an instance of that component for each individual person that needs cards. If you decide to redesign your business cards, you can simply update the main component, and have all of the cards update automatically.
Create components with 'slots'
Components are a lot more powerful now with the introduction of slots in Figma. Before slots were a thing, if you wanted to change anything about a component other than the text content, you had to completely 'detach' the component from its main component, and then make your changes. The proplem with that is that once you detach a component, it won't automatically update when the main component changes. Now however, with slots, you can make components behave like actual 'templates'. Slots are a huge win for print design in Figma!
Don't restrict your creativity!
Figma still has a reputation for being a "UI" tool rather than a graphic design tool. However, over the last few years, the Figma team has added so many amazing illustration and graphic design features that it now can confidently compete with Adobe Illustrator.
Use the 'Shape Builder' tool for illustrations
With the shape builder you can create incredibly detailed vector illustrations right in Figma. These are perfect for print projects as vector artwork can be printed in super high quality.
Create brush strokes with Figma Draw
Figma Draw let's you create "photoshop style" brush strokes, but in vector format! This is super cool because you can add natural looking touches to your design, without sacrificing quality. And, at any point, you can move/resize/adjust the brush strokes, without destructive rasterization.
Try out 'Figma Buzz'
Figma Buzz is Figma's new product designed specifically for marketers and print designers. It's sort of like if Figma and Canva were combined into one tool. In many ways, it's actually a lot better than Figma Design when it comes to print projects:
Easily add, reorder, and delete pages
Figma Buzz is designed around the concept of "pages" or "assets", rather than an infinite canvas. This makes it a lot easier to visualize how your design will look and the order of your pages.
Bulk create hundreds of assets
Figma Buzz also has a 'bulk create' functionality will lets you automatically insert text into predefined templates - perfect for creating hundreds or even thousands of personalized business cards, name tags, etc.
Copy and paste between Design & Buzz
The fantastic thing about Figma Buzz, is that at any point, you can still edit your designs just as if you were using Figma Design. You can also simply copy/paste between Design and Buzz. A common workflow is to do most of your desinging in Figma Design, then copy your final versions into Buzz and set them up as templates. I highly reccomend you try using Figma Buzz near the end of your design process to prepare your files.
Export in CMYK from Figma Buzz
Print for Figma is fully integrated with Figma Buzz, so you once you've set up all your pages, you can export in CMYK with one click.
Putting it all together
As you can see, there isn't just one way to use Figma for print design. The techniques and features you use will vary greatly based on the specific project. Regardless, almost anything is possible in Figma once you start incorporating plugins into your workflow. Figma Draw and Figma Buzz, the new kids on the block, have also completely revolutionized Figma's capabilities.
Here's how I would concisely summarize all 7 tips into a workflow:
- talk to your print service provider and find out their requirements
- using those requirements, setup a properly sized layout in Figma
- create your design, checking DPI along the way using Print for Figma
- copy and paste your final designs into Figma buzz for client review / feedback
- once approved, use Print for Figma to export your design as a CMYK PDF
If you still have questions about using Figma for print design, or if you'd like to chat with experts, you can join the official Print for Figma Discord Community.
Good luck, and happy printing!